
The Ultimate Beginner’s Guide to Candle Making
Start Here: How to Make Your First Candle (Even If You’ve Never Tried Before)
Making your own candles is one of the most rewarding and accessible crafts you can learn. Whether you’re looking for a new hobby, want to create personalized gifts, or simply love the idea of lighting a candle you made yourself, this comprehensive guide will take you from complete beginner to confident candle maker.
Why Make Your Own Candles?
Creating candles at home offers numerous benefits beyond the obvious satisfaction of crafting something beautiful with your own hands. You have complete control over the ingredients, ensuring you avoid harmful chemicals often found in commercial candles. You can customize scents to match your preferences perfectly, create unique color combinations, and design candles that complement your home décor. From a financial perspective, making candles costs significantly less than purchasing high-quality alternatives, and homemade candles make thoughtful, personalized gifts that friends and family will treasure.
Essential Materials and Tools
Before diving into your first candle-making project, you’ll need to gather the right materials and tools. The beauty of candle making lies in its simplicity – you don’t need expensive equipment to get started.
Wax Options for Beginners
Soy Wax is the most beginner-friendly option and what we recommend for your first candles. It melts at a lower temperature, making it safer to work with, burns cleanly without producing harmful toxins, and holds fragrance oils beautifully. Soy wax also cleans up easily with soap and water if you spill it.
Paraffin Wax is the traditional choice that’s widely available and inexpensive. It produces vibrant colors and strong scent throw, though it’s derived from petroleum. Many commercial candles use paraffin wax because of its excellent performance characteristics.
Beeswax offers a natural option with a subtle honey scent and beautiful golden color. It burns longer than other waxes and purifies the air as it burns, though it’s more expensive and can be challenging for beginners to work with due to its higher melting point.
Wicks: The Heart of Your Candle
Choosing the right wick is crucial for a successful candle. Cotton wicks are the safest and most popular choice, available in various sizes to match different candle diameters. Wood wicks create a lovely crackling sound reminiscent of a fireplace but require more experience to use properly. The wick size must match your candle’s diameter – too small and your candle won’t burn properly, too large and it will produce too much flame and smoke.
Additional Supplies You’ll Need
You’ll need containers if you’re making container candles – mason jars, teacups, or purpose-made candle vessels all work well. A double boiler or large pot with a smaller pot that fits inside will help you melt wax safely. A thermometer designed for candle making ensures you heat wax to the correct temperature. Fragrance oils specifically made for candles will provide the scent, while candle dye or crayons can add color. Don’t forget stirring utensils, scissors for trimming wicks, and newspaper or cardboard to protect your work surface.
Step-by-Step Guide to Making Your First Candle
Preparing Your Workspace
Set up your candle-making area in a well-ventilated space away from children and pets. Cover your work surface with newspaper or cardboard to catch any spills. Gather all your materials before you begin, as you’ll need to work relatively quickly once the wax is melted. Have your containers ready and wicks pre-cut to the appropriate length.
Melting the Wax
Fill the bottom pot of your double boiler with water and place it on the stove over medium heat. Add your wax to the top pot – for a standard 8-ounce candle, you’ll need about 6-8 ounces of wax. Stir occasionally as the wax melts, monitoring the temperature with your thermometer. Soy wax should be heated to about 185°F, while paraffin wax can go up to 200°F.
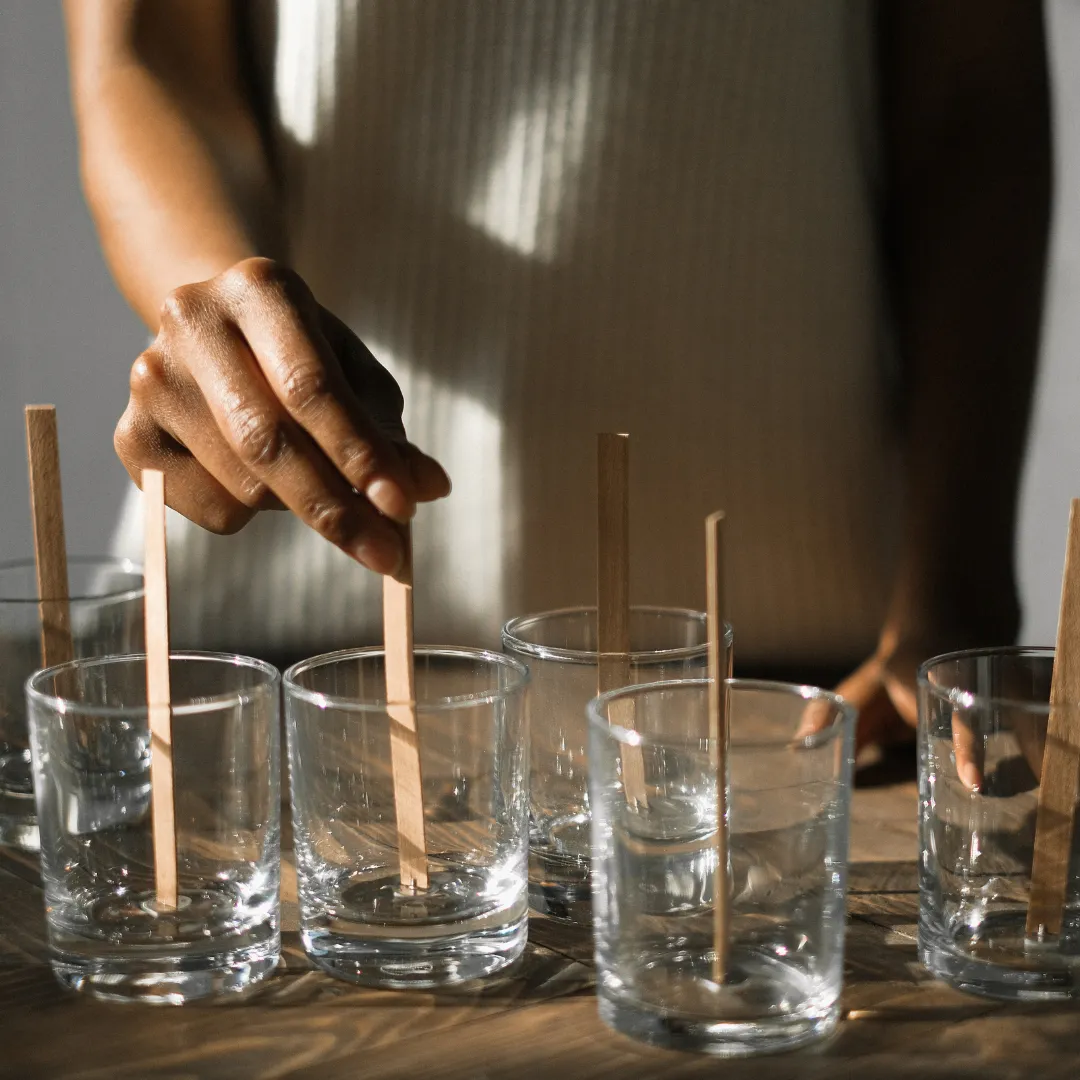
Preparing Your Container and Wick
While the wax melts, prepare your container by securing the wick to the bottom center. You can use a small dab of melted wax, wick stickers, or hot glue to hold it in place. Use a pencil, chopstick, or wick holder to keep the wick centered and straight as you pour the wax.
Adding Fragrance and Color
Once your wax reaches the proper temperature, remove it from heat and let it cool slightly to about 165-175°F before adding fragrance oils. This prevents the fragrance from evaporating due to excessive heat. Add fragrance oil at a rate of about 1 ounce per pound of wax, though you can adjust based on your preference. If you’re adding color, do so now, stirring gently but thoroughly to distribute evenly.
Pouring Your Candle
Pour the wax slowly and steadily into your prepared container, leaving about half an inch of space at the top. Pour in a thin stream to minimize air bubbles. Keep the wick centered as you pour, adjusting if necessary with your wick holder.
Cooling and Finishing
Allow your candle to cool completely at room temperature – this usually takes 4-6 hours. Avoid moving or disturbing the candle during this time. Once completely set, trim the wick to about 1/4 inch above the wax surface. Your candle will benefit from curing for 24-48 hours before burning, which allows the fragrance to fully bind with the wax.
Common Beginner Mistakes and How to Avoid Them
Many new candle makers encounter similar issues that are easily preventable with the right knowledge. Overheating wax is one of the most common mistakes – excessive heat can cause discoloration, poor scent throw, and even dangerous conditions. Always use a thermometer and follow temperature guidelines for your specific wax type.
Using the wrong wick size leads to poor burning performance. A wick that’s too small creates a tunnel effect where only the center burns, while an oversized wick produces excessive flame and smoke. Test different wick sizes with small batches to find what works best for your specific candle diameter and wax type.
Adding too much fragrance oil might seem like it would create a stronger scent, but it can actually prevent proper burning and cause the candle to smoke. Stick to recommended fragrance load percentages – typically 6-12% of the wax weight depending on the wax type.
Pouring wax at the wrong temperature causes various issues. Too hot, and you might get sinkholes or poor fragrance retention. Too cool, and the wax might not adhere properly to the container sides, creating gaps as it cools.
Safety First: Important Precautions
Candle making involves working with hot wax and open flames, so safety should always be your top priority. Never leave melting wax unattended, and keep a fire extinguisher or baking soda nearby in case of small fires – never use water on a wax fire. Wear appropriate clothing that won’t easily catch fire, and tie back long hair.
Ensure adequate ventilation in your workspace to avoid inhaling fumes from melting wax and fragrance oils. Work on a stable, heat-resistant surface, and have towels ready for quick cleanup of any spills. Keep pets and children away from your workspace, as hot wax can cause serious burns.
When burning your finished candles, never leave them unattended and always place them on heat-resistant surfaces away from flammable materials. Trim wicks to 1/4 inch before each use to prevent excessive flame and smoking.
Troubleshooting Common Issues
Even experienced candle makers encounter problems occasionally. Sinkholes or craters in the center of your candle usually result from cooling too quickly or pouring at too high a temperature. You can fix this by poking relief holes around the wick and topping off with additional melted wax.
If your candle has a frosted or mottled appearance, this often occurs with soy wax and is purely cosmetic – it won’t affect burning performance. However, if you prefer a smooth finish, try pouring at a slightly lower temperature or using a different soy wax blend.
Wet spots, where the wax pulls away from container sides, typically happen when the wax cools too quickly. Pre-warming your containers and ensuring a slower cooling process can help prevent this issue.
Poor scent throw might indicate you added fragrance oil at too high a temperature, used too little fragrance, or chose oils not designed for candle making. Always use candle-specific fragrance oils at the manufacturer’s recommended percentage.
Taking Your Skills to the Next Level
Once you’ve mastered basic container candles, numerous exciting techniques await exploration. Layered candles create beautiful color gradients by pouring different colored waxes in stages. Embedded objects like dried flowers, coffee beans, or small decorative items add visual interest and can complement your chosen fragrance.
Pillar candles require different techniques and wax types but offer more sculptural possibilities. Rolled beeswax candles provide a quick alternative method that doesn’t require melting wax. Taper candles, while more challenging, create elegant additions to any dinner table.
Experimenting with natural additives like dried herbs, spices, or flower petals can create unique textures and subtle fragrances. Advanced techniques include marbling, gradient effects, and creating custom molds for unique shapes.
Building Your Candle Making Kit
As you develop your skills and passion for candle making, you’ll want to expand your toolkit. A dedicated melting pot designed for candle making provides better temperature control than a makeshift double boiler. A heat gun helps eliminate surface imperfections and can be used for various finishing techniques.
Invest in a variety of wick types and sizes to accommodate different candle styles and diameters. A larger selection of fragrance oils allows for custom blending and seasonal creations. Professional candle molds open up possibilities for shaped candles beyond simple containers.
Consider adding specialized tools like wick trimmers, which provide cleaner cuts than regular scissors, and wick dippers for extinguishing candles without smoke. A digital scale ensures precise measurements for consistent results across batches.
Conclusion
Candle making combines creativity with practicality, offering endless opportunities for personalization and experimentation. Starting with simple container candles builds confidence and fundamental skills that serve as the foundation for more advanced techniques. Remember that every expert was once a beginner, and each candle you make teaches valuable lessons for the next one.
The joy of lighting a candle you’ve created yourself, with your chosen fragrance and colors, never gets old. Whether you’re making candles for personal enjoyment, gifts, or even considering a small business venture, the skills you develop through this craft will provide years of satisfaction and creativity.
Take your time with each step, prioritize safety, and don’t be discouraged by minor imperfections in your early attempts. With practice and patience, you’ll soon be creating beautiful, professional-quality candles that burn evenly and fill your space with delightful fragrances. Welcome to the wonderful world of candle making – your first candle awaits!